Monday, March 7, 2011

Super Easy Baby Blanket

I have been known to throw together a handmade gift right before a birthday party or baby shower, just finishing it and tossing it in a gift bag as I head out the door 10 minutes late. I even sat in the driveway of my cousin's baby shower sewing buttons on the kimono jammies I made for her baby boy. Yes, I am the worst manager of time. At least I'm not in denial, right?

Well, in keeping with my last minute craftiness, I am also sometimes late to blog parties. And today is no exception. You may recall the "Crafty Mamas Blog Challenge" I talked about a while back and even made a few projects for. Well, I am jumping back in (two days late to link up).


So, here is my week 5 project

The challenge was to make a baby blanket. So I threw together this super simple, super cozy blanket Thursday evening when we heard the news that our good friends found out they were having a boy.
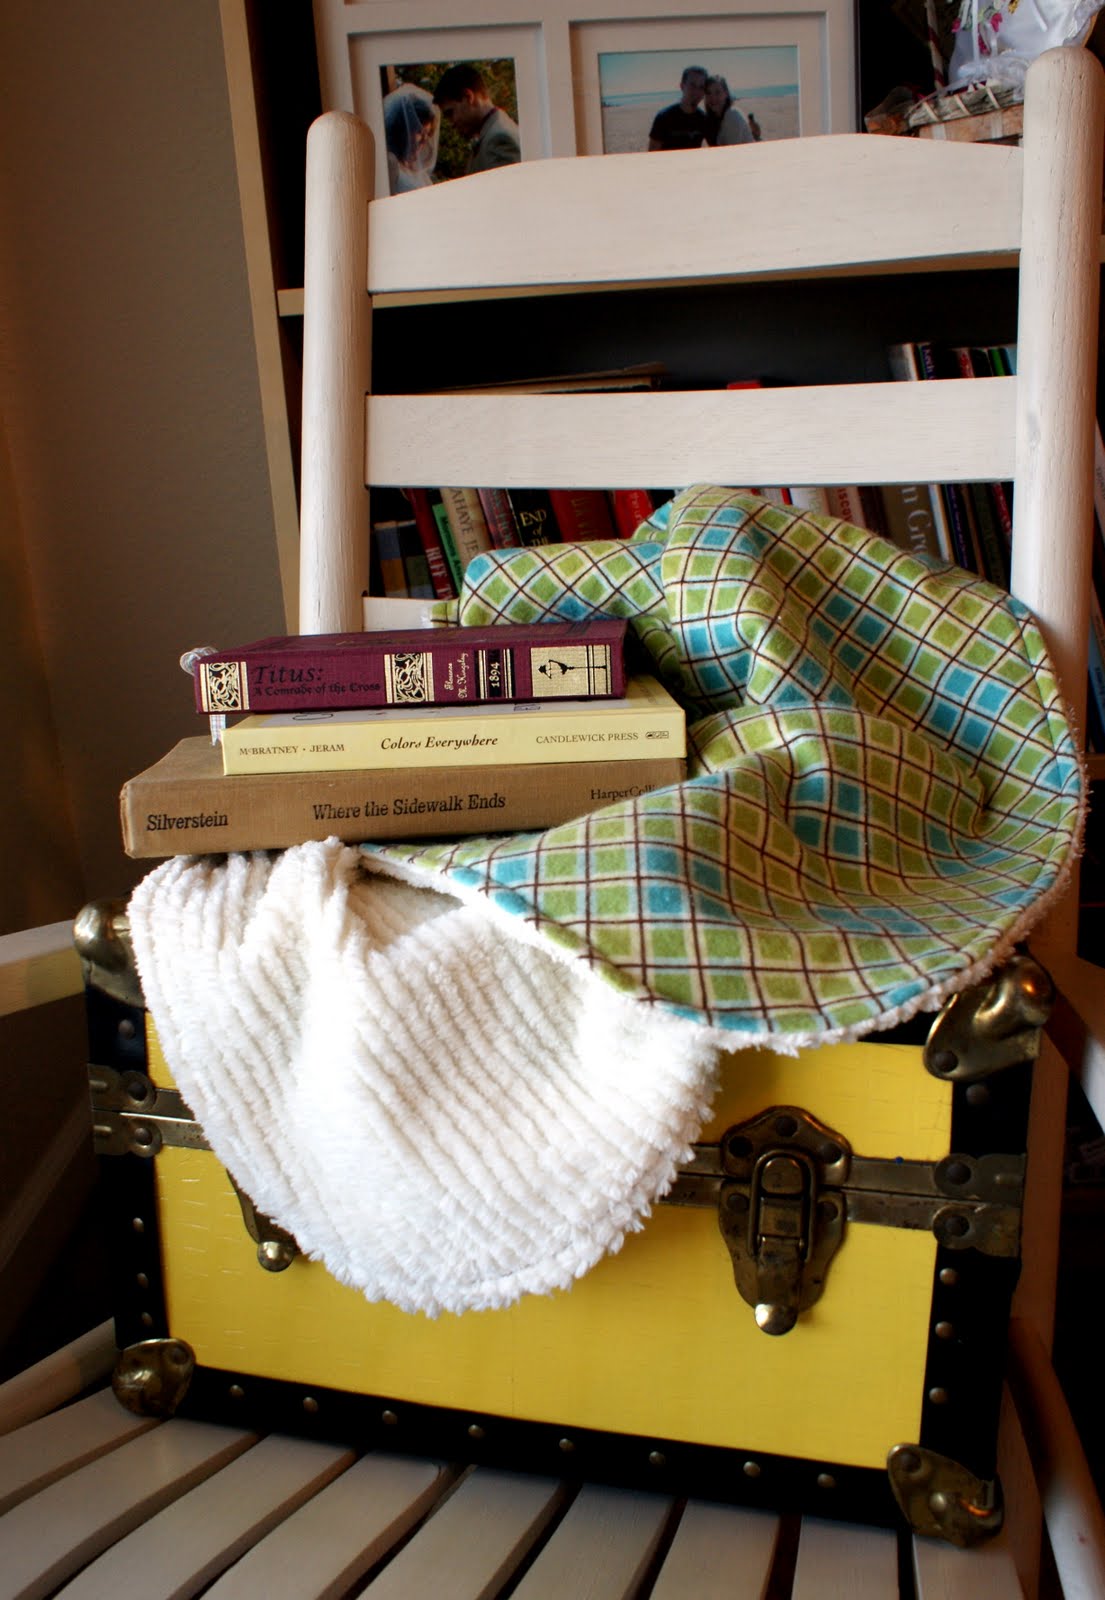
Perfect for snuggling up with a good book and your favorite little boy.


Honestly, I was hoping they were having a girl so I could make a blanket with a ruffle or something super girly...but this one was so quick and it's about the softest thing ever, so I think I'm okay that they'll be having a boy.

To make your own super easy, super soft baby blanket, follow these simple steps: find two super cuddly fabrics (I chose chenille and flannel) and pre-wash them to prevent uneven, unwanted shrinking later. Lay them right sides together and make the edges even (I cut mine to be about 30" by 38"), cut arount a bowl or plate to round the corners, pin the edges together, sew 3/4" from the edge leaving about 4 inches open for turning. Then clip the rounded corners with "valley" cuts so they lay flat when you turn the blanket right side out. Turn right side out, be sure everything is laying flat at your seams, pin together your opening so it blends in with the rest of the blanket edge, then top stitch around about 1/4" from edge, making sure to close your opening. Then, give it to someone who is having a little boy so they can snuggle and cuddle.

The End :)

Saturday, March 5, 2011

Elora's Purse


I recently realized that Elora was ready for a purse of her own. She's always carrying around my make up bag like a little purse and she'll grab pretty much any bag type item, fill it up with her stuff, throw it over her shoulder, and head for the door saying "bye-bye".

And so, the mini purse was born.

I just started cutting rectangles of fabric and interfacing, started sewing it together, and viola! It worked out quite well I think!

It was love at first sight for Elora. Right away she threw her sippy cup in there, some goldfish crackers, a book, a pacifier, (y'know, all the essentials) and headed for the door.

It helps that it matches mama's purse (which in reality is quite a bit bigger than Elora's purse, despite what these pictures might suggest).

She's pretty cute with her little purse. I wish I had a photo to post, but she's too quick these days. I had a brilliant idea for getting photos of her in the future...now I just need to find a bubble machine.

Friday, March 4, 2011

Something for me

I am always sewing for little ones. Either for my daughter or for my shop. So yesterday, I decided it was time for a new top for me. I hit a great sale about a month ago and bought 17 yards of various fabrics for $34! It was awesome.

I decided to use one of the $1 prints to whip up a "prototype" shirt for me. Well, I ended up really loving it. And I loved that it only cost about a buck.

It looks nice with a cardigan.

Or maybe with a belt?

Either way, I'm pretty excited about this little top. It isn't much but I've really been feeling the frump of the stay at home mom lately. This feminine top is really going to help to ward off the frump. And it's comfy, totally wearable, and my husband said it was "really cute". Yes, those were his words. So, it was a hit.

I plan on making a few more with different prints and embellishments. I need a serious wardrobe revamp so this should help.

I used a dress I recently bought from Target as my "pattern". The dress is pretty big and needs some altering itself, but it really helped me get a shape I like. So, I am off to make about 5 more of these :)

Thursday, March 3, 2011

And the winner is....

commenter #12, Lois!!

Congratulations, Lois! I'll be emailing you so you can claim your prize!

For those who didn't win, make sure you head over to my Facebook page for the chance to win a dress or a hand sewn tie!

Monday, February 28, 2011

Giveaway!

So, one of my goals for my blog this year, is to do a giveaway once a month. I'm almost out of time for February, so today is the day! The problem was, I wasn't sure what to giveaway. So the winner gets to choose!

The options are:
A $10 Credit to My Shop

A ruffles and rosettes headband here's an example of what that might look like, however, you can choose the color scheme and size (for baby, child, or adult):

Or, a bitty bow tie which will look something like this, but in the color or print of your choice:

So, to enter, leave one comment telling me what prize you would choose (you're not committed to that choice if you win though). That's it. Leave your email address in your comment so I can contact you when you win.

Giveaway ends midnight pst on 3/2/11

Also, I will be doing a (bigger) giveaway on my Facebook Page when we reach 100 likes. We're at 88 right now. So, if you haven't liked my page yet, get to it so we can do another giveaway. And tell your friends!

Tuesday, February 22, 2011

Our Weekend in Photos

Lots of sandy toes

Lots of rain

A few games

A ton of fun on the round chair with daddy

Elora's first time in pig tails

Lots of quality time

Not as much beach time as you'd think

But enough time at the beach for Elora to find her first sea shell

And of course, lots of coffee and other yummy things!


So thankful for our weekend away...hope your weekend was wonderful too!

Thursday, February 17, 2011

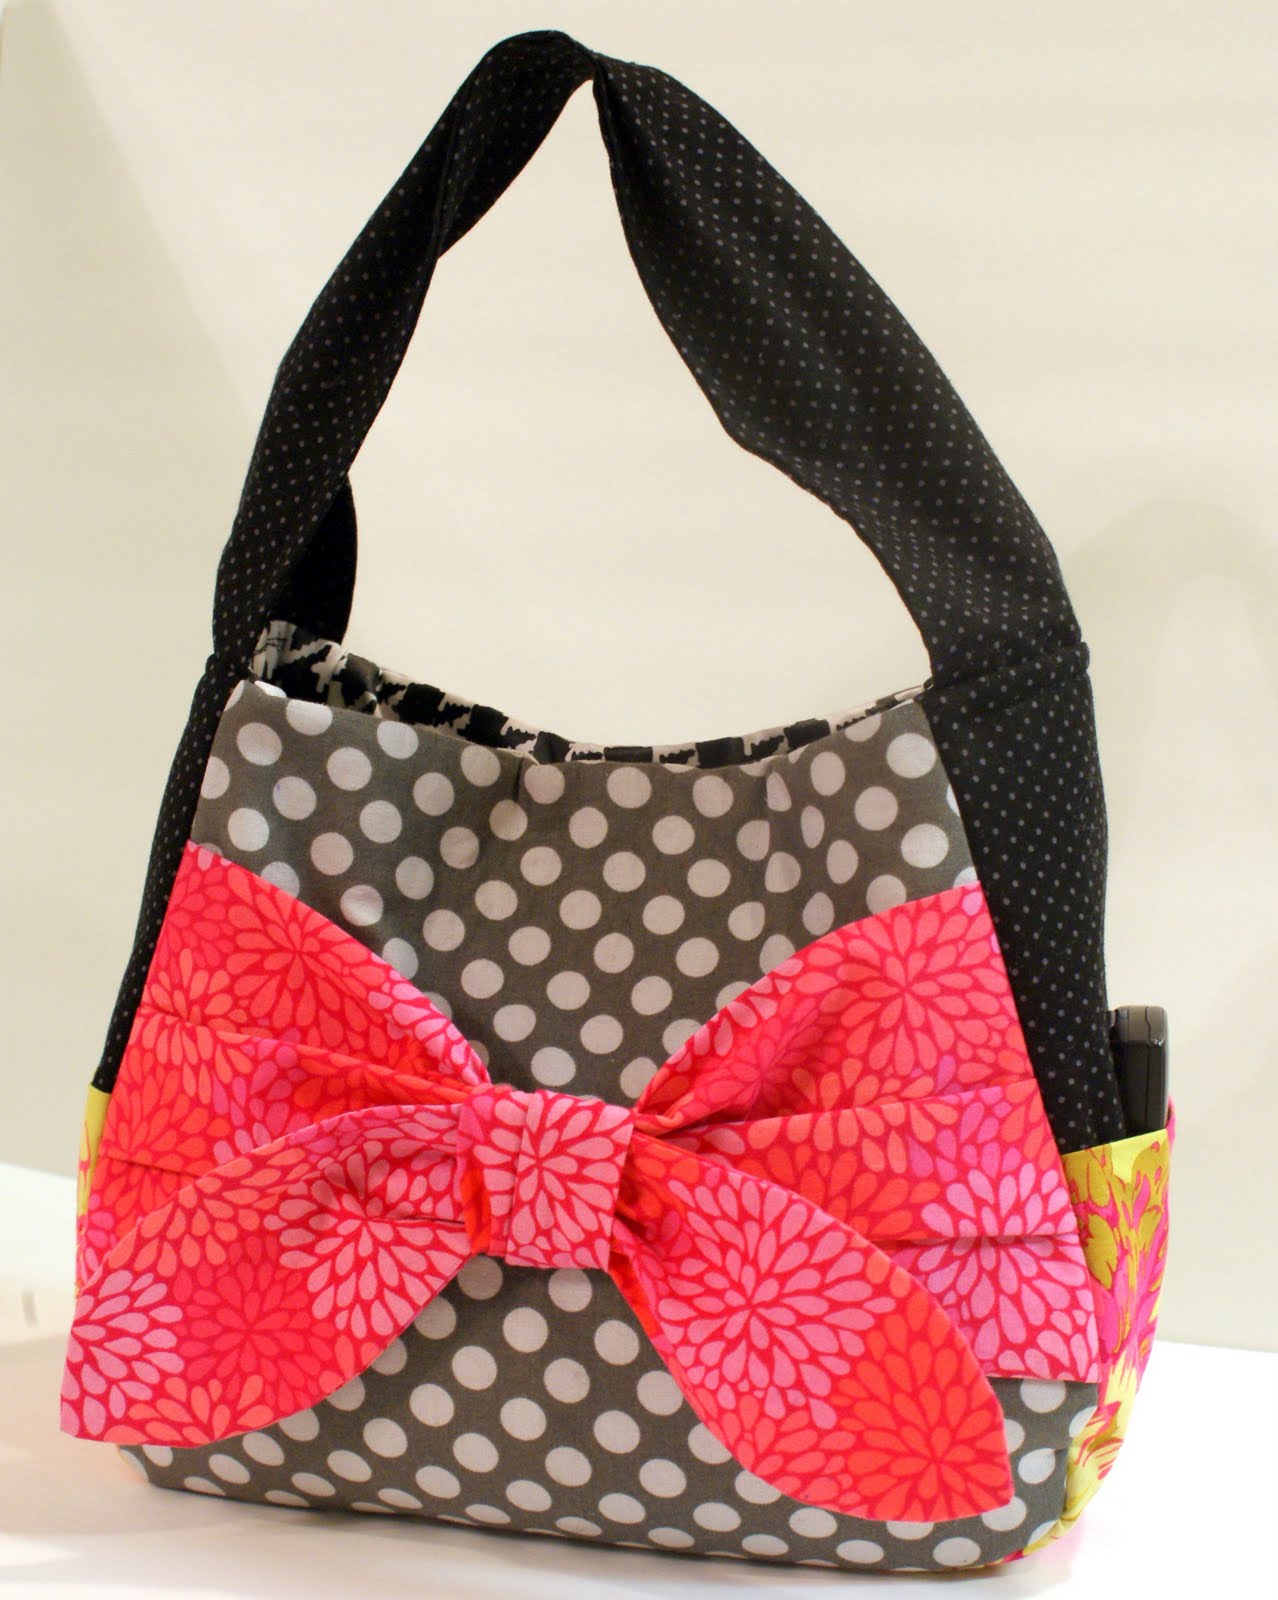
Big Bow Tote #2

I really do love this bag. I made one for myself and have received so many compliments and even had one lady take a picture to send to her sister! Pretty funny.

Anyways, my (step) mother in law has been super generous with helping me in my sewing ventures and I wanted to say thank you with a handmade gift. And I know that I never would have been able to make this bag with my former machine, so I thought it was a perfect way to say thanks for everything, especially the amazing sewing machine :)

So, here is the bag I made for her
The inside has a few pockets
I had to put my label on it of course :)
I really like how it turned out and she seems to like it too.
I sent it in the mail without giving her a clue it was coming. Wouldn't that be so fun to get an unexpected gift in the mail!? I know I'd be stoked, I think she was too.